
5 min read
Harnessing High Search Volume Keywords for Maximum Impact
Discover the power of high search volume keywords and how to effectively use them to boost your online presence and drive maximum impact.
6 min read
In this article we’ll look at how we built a script in Python 3, using Pytrends to effectively automate data collection from Google Trends. Also we’ll look into how we took this a step further and integrated it into Google Drive, making our script a little bit more approachable.
While it’s not the most difficult process, before reading on you’ll need to have Python 3 on your PC or Mac and be able to install and set-up Packages. Unfortunately, you probably won’t be able to use this guide if you have never used Python before.
*Disclaimer, Google is always updating and tweaking their backend so it is just a matter of time before this script no longer works. Contributors to this project aren’t professional programmers or developers, so we’re sure there are more efficient ways to do things. If you can improve on any aspect of our process, feel free to share 🙂
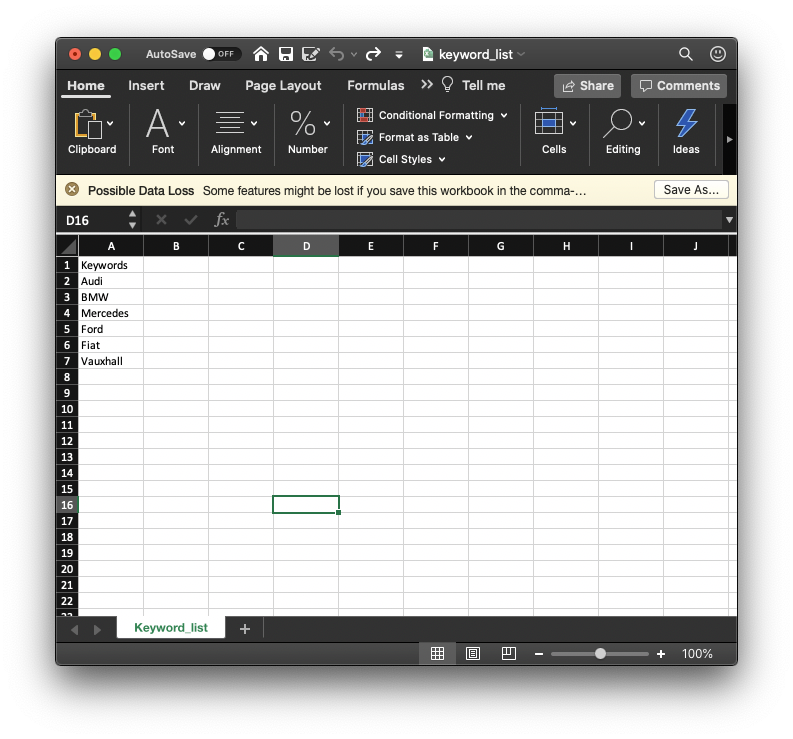
Once you’ve created your project directory we need to include a keyword file which will supply our script with all our terms:
pytrends and pandas librariesfrom pytrends.request import TrendReq
import pandas as pd
import time
startTime = time.time()
pytrend = TrendReq(hl='en-GB', tz=360)
colnames = ["keywords"]
df = pd.read_csv("keyword_list.csv", names=colnames)
df2 = df["keywords"].values.tolist()
df2.remove("Keywords")
dataset = []
for x in range(0,len(df2)):
keywords = [df2[x]]
pytrend.build_payload(
kw_list=keywords,
cat=0,
timeframe='2020-04-01 2020-05-01',
geo='GB')
data = pytrend.interest_over_time()
if not data.empty:
data = data.drop(labels=['isPartial'],axis='columns')
dataset.append(data)
result = pd.concat(dataset, axis=1)
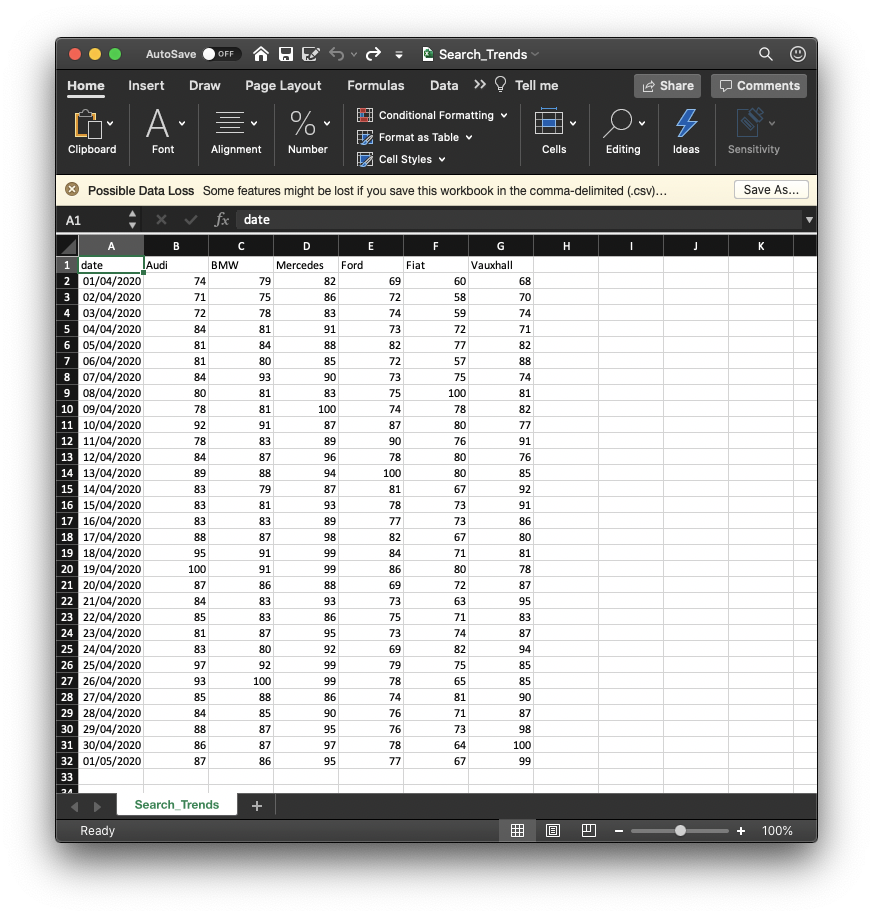
result.to_csv('search_trends.csv')
executionTime = (time.time() - startTime)
print('Execution time in sec.: ' + str(executionTime))
NOTE: At this point, you can run the script and you should get results output to a file named "search_trends.csv". If you can figure out all the API parameters, feel free to go on your merry way or skip to the following section where we add this into Google Drive.
There are multiple ways you can work with the time frames in this script, but we find it easiest to compare between 2 dates
This can be done by using the following format and editing line 19:
Specific dates: ‘YYYY-MM-DD YYYY-MM-DD’ example '2016-12-14 2017-01-25'
What country or region you want to look at. This can get fairly granular, looking at countries, regions and even states. From a top-level perspective, we can use 2 two-letter country abbreviations to change this parameter.
geo='GB') #Great Britain as the location data source
geo='GB-ENG') #England as the location data source
geo='GB-US-AL') #Alabama as the location data source
To rename the output file you can edit line 27, changing: result.to_csv('RENAME YOUR FILE HERE.csv').
We’ve also added an execution time to print once the script has run, handy if you’re running a lot of keywords. You can remove this by deleting print('Execution time in sec.: ' + str(executionTime))
This should now function properly. If you have any questions or you need further help, please use the site to contact us.
Within the next part of this article, we’ll show you how to add this into Google Drive. There will be a few amends to the script but we’ve essentially done all the leg work here. A massive upshot of doing it through Colab is that we don’t have to use our own hardware, making bigger jobs slightly less painful.
Few things we’ll need before starting this section of the project:
Using the link below, copy our Google Drive Sheet. This controls the API parameters found in the script, including keywords, date to and from and also the location.
Feel free to create your own data input, we go over all the referencing later on which can be used to edit and play around with fields. The most important thing to note: dates and geo abbreviations need to be in the correct formats
Link to our sheet: https://docs.google.com/spreadsheets/d/1yuLQOeyzW9-KGfLXOcbdLjcby7qWM07Pihntq5v7lOY/edit?usp=sharing
In your file with your keyword input, right-click and select More > Google Colaboratory . If you don’t see it, select “connect to more apps” and search for Colaboratory and install.
Within your Colab file we’re going to create 2 code cells, the first which verifies your Google Account giving you access to drive and allowing our input file to control our script, and then the second cell is our script.
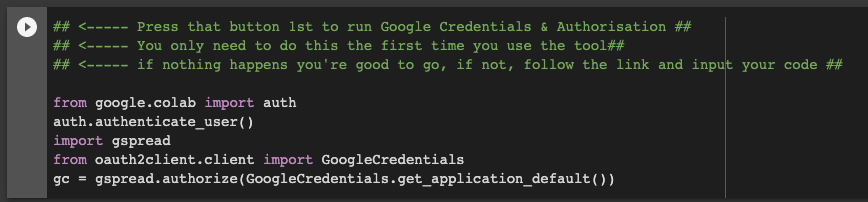
google-auth is the Google authentication library for Python and what we’re using to verify our account. Copy the code below into your first code cell
from google.colab import auth
auth.authenticate_user()
import gspread
from oauth2client.client import GoogleCredentials
gc = gspread.authorize(GoogleCredentials.get_application_default())
When run this will ask for a code, follow the link, log-in to your Google Account, copy the string and press enter. Once run there are no obvious signs of completion, take no error messages as good news.

Our aim when moving this to Google drive is to make it accessible. So in our case for all of our staff, some of who aren’t familiar with an IDE. In our code cell 1, we’ve added comments, to direct users and help them through the process.
Create a new code cell and copy and paste the below:
Feel free to remove the comment in line 1
## <-------- Press that button to run the script and get your data ##

!pip install Pytrends
!pip install pandas
from pytrends.request import TrendReq
import pandas as pd
import time
startTime = time.time()
pytrend = TrendReq(hl='en-GB', tz=360)
df = wb = gc.open_by_url('### Enter your input file URL')
sheet = wb.sheet1
df2 = sheet.col_values(5)
d_from = sheet.acell('B7').value
d_to = sheet.acell('B8').value
geo1 = sheet.acell('B10').value
dataset = []
for x in range(0,len(df2)):
     keywords = [df2[x]]
     pytrend.build_payload(
     kw_list=keywords,
     cat=0,
     timeframe= str(d_from + " " + d_to),
     geo= str(geo1))
     data = pytrend.interest_over_time()
     if not data.empty:
          data = data.drop(labels=['isPartial'],axis='columns')
          dataset.append(data)
result = pd.concat(dataset, axis=1)
result.to_csv('search_trends_DOWNLOAD_ME.csv')
!cp search_trends_DOWNLOAD_ME.csv "### Enter your Google Drive path ###"
executionTime = (time.time() - startTime)
print('Execution time in sec.: ' + str(executionTime))
To link your input Google Sheet we need to copy the shareable URL and paste it into line 10. This can be done via the green share button (top right) on the Google sheet.
df = wb = gc.open_by_url('### Enter your input file URL')
#Change to....
df = wb = gc.open_by_url('https://docs.google.com/spreadsheets/d/1dQHzIBHoI7jHcA9TRYO8Hd70G0-3RG8PF...')
To out put our file we need to give the script a file path. The easiest way to do this is to Mount Google Drive in Google colab, navigate to your directory and "Copy path".
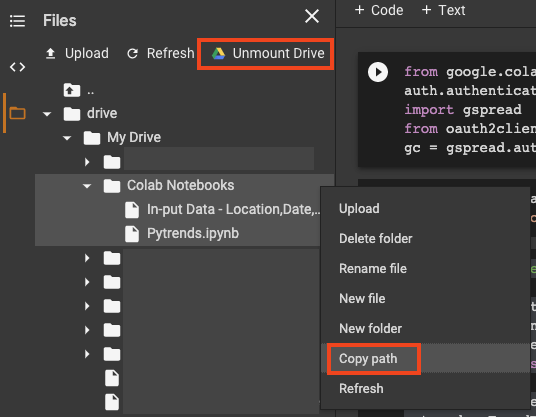
If your directory by default is higher in the file structure than your Google Drive folder, your drive files can be found in Content > Drive > My Drive.
Enter your file path into line 30
!cp search_trends_DOWNLOAD_ME.csv "### Enter your Google Drive path ###"
#Change to....
!cp search_trends_DOWNLOAD_ME.csv "/content/drive/My Drive/Colab Notebooks/pytrends"
Test your script, this should now create a downloadable CSV file with all your data. I'd recommend users download or copy files to another drive, as this keeps the directory clean. Opening the CSV file within Google drive will create a Google sheets version.
If you've created your own input file, with different cell references to our own. You can easily change them by editing lines 13 to 15, referencing your cell inputs. Just remember that they need to be in the correct format.
d_from = sheet.acell('B7').value ##Controls from date
d_to = sheet.acell('B8').value ##Controls to date
geo1 = sheet.acell('B10').value ##Controls location
While the industry isn't new to Python and the benefits it brings to automation. For example, alsoasked.com which is based on the Gquestions.py library. Being able to create automation and efficiencies, in a semi accessible and familiar environment is a great win. We're always developing and creating new tools, subscribe to our newsletter to hear about them first
If you have any questions please contact us at Honchō - This script was created by Jack Minot and Telson Thomas.


5 min read
Discover the power of high search volume keywords and how to effectively use them to boost your online presence and drive maximum impact.

2 min read
We're delighted to officially announce our partnership with Eflorist, one of the world’s leading flower delivery brands with over 54,000 local flower...

5 min read
Working agency-side in digital marketing often means that you’re expected to be a jack of all trades, with industry expertise stretching across...
Fuzzy Lookup is a great tool for several different scenarios in search marketing, with one of its most common use cases being for site migrations.
Recently there has been a lot of buzz around a script which allows you to scrape Google’s “People also ask” into either a CSV or a visual HTML file....

Getting Views From Youtube Videos This guide will show you how to scrape video views with Python with a primary focus on either scraping a single...